
If you're new to Docker or looking for a simple guide to go from setup to publishing your containerized app, this post is for you. In this tutorial, you'll learn how to:
- Install Docker on Ubuntu
- Build your first Docker image
- Create and run a container
- Tag and push your image to Docker Hub
Let’s get started.
🐳 Step 1: Install Docker on Ubuntu
Open your terminal and run the following commands:
sudo apt update
sudo apt install -y docker.io
🔗 Alternative method:
For the latest version and installation options, check the official Docker install script:
To verify Docker is installed correctly:
docker --version
or
docker -v
📂 Useful Docker Commands
- List Docker images:
docker image ls
- List Docker containers:
docker container ls
🛠 Step 2: Build Your Docker Image
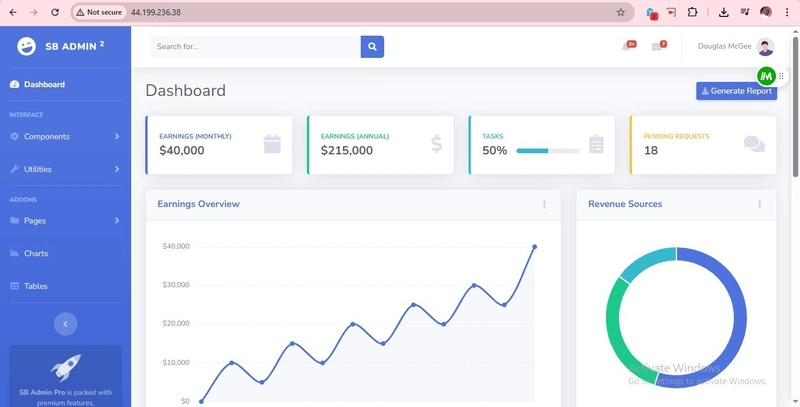
Let’s use a static website as an example, such as one downloaded from startbootstrap.com.
- Create a
Dockerfilein your project directory:
nano Dockerfile
- Add the following content:
FROM nginx:alpine
COPY . /usr/share/nginx/html
- Build the Docker image:
docker build -t webapp:v1 .
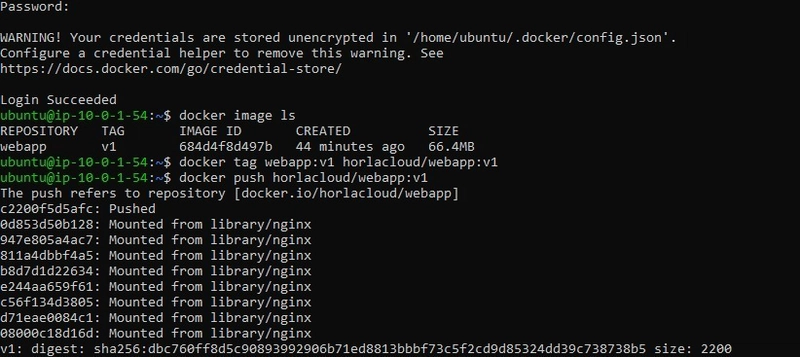
To confirm the image was created:
docker image ls
🚀 Step 3: Run the Container
Now let’s run your image in a Docker container:
docker run -d -p 80:80 --name websiteapp webapp:v1
Visit http://localhost:80 (or your server’s public IP) to see your site live.
To list running containers:
docker container ps

🔐 Step 4: Log in to Docker Hub
If you don’t have a Docker Hub account, sign up here.
Then log in from your terminal:
docker login -u your_dockerhub_username
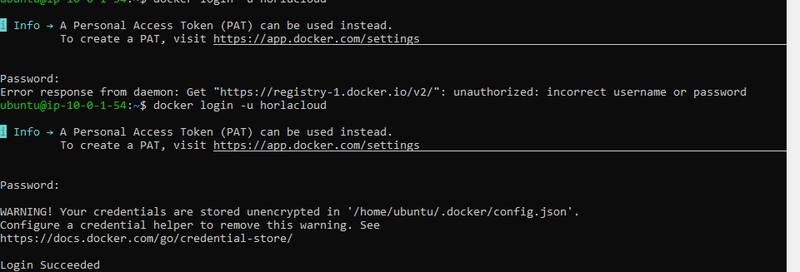
You’ll be asked to enter your password or a Personal Access Token (PAT).
📦 Step 5: Tag & Push Your Image to Docker Hub
- Tag the image:
docker tag webapp:v1 your_dockerhub_username/webapp:v1
- Push the image:
docker push your_dockerhub_username/webapp:v1

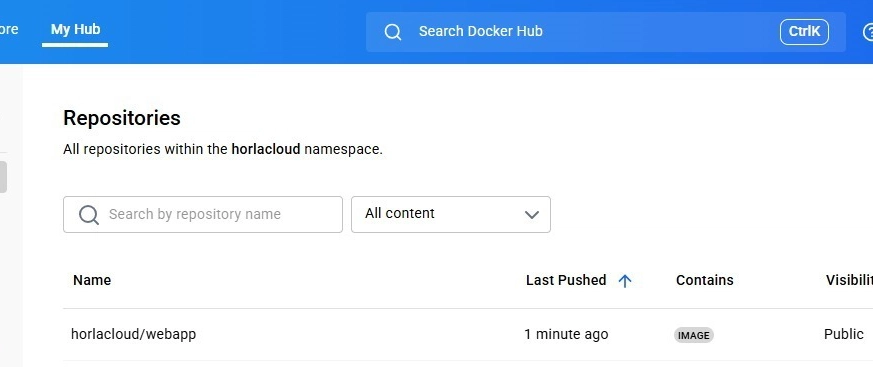
You can now visit your Docker Hub profile and view your pushed image:
👉 https://hub.docker.com/repositories
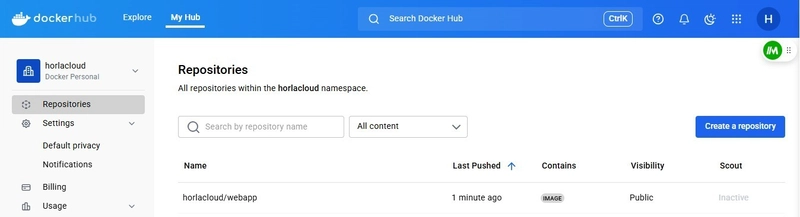
After Successful Push
✅ Summary
In this guide, you learned how to:
- Install Docker on Ubuntu
- Build and run a Docker image
- Host a simple static site using NGINX
- Push your Docker image to Docker Hub
This workflow forms the backbone of containerized development. You can now use these skills to automate deployments, integrate with CI/CD pipelines, or scale with orchestration tools like Kubernetes.
💬 Have questions or want to learn how to automate deployment using GitHub Actions or AWS ECS? Leave a comment or reach out — I’d love to help!