This is the last exercise in the Azure Networking series. Here we will:
- Create and configure a private DNS zone.
- Create and configure DNS records.
- Configure DNS settings on a virtual network. We will be building on what we did in this exercise so make sure this exercise is done first
Exercise 05: Create DNS zones and configure DNS settings
Create a private DNS zone
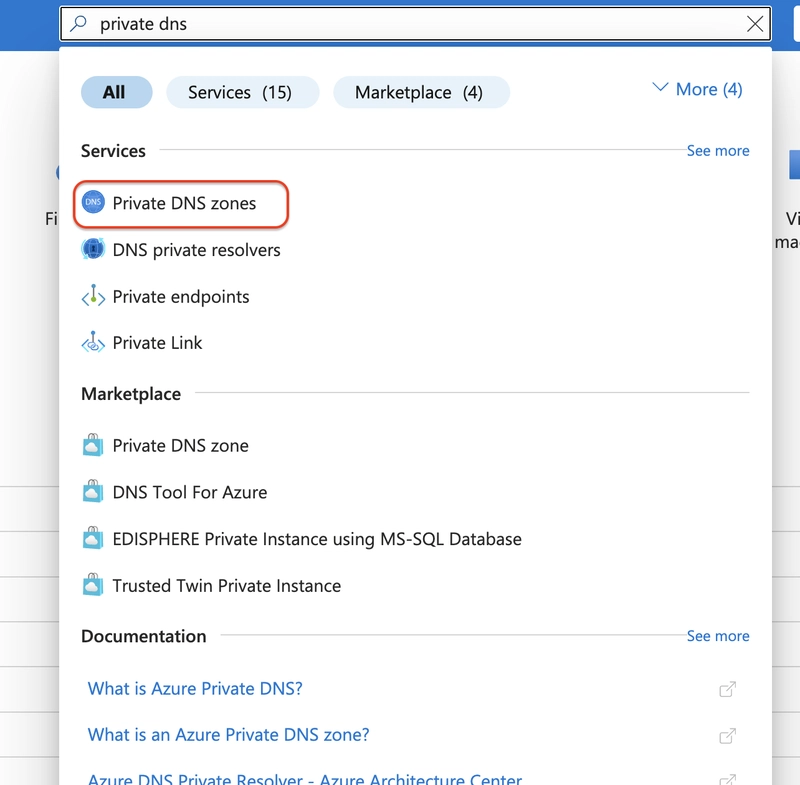
On the Azure portal, search for and select Private dns zones

-
Select + Create and configure the DNS zone:
- Subscription: Select your subscription
- Resource group: Your RG
- Name: private.contoso.com
- Region: East US
Select Review + create and then select Create.
Wait for the DNS zone to deploy, and then select Go to resource.
Create a virtual network link to your private DNS zone
In order to resolve DNS records in a private DNS zone, resources must be linked to the private zone. A virtual network link associates the virtual network to the private zone.
- Working with the private.contoso.com DNS zone, in the DNS Management blade, select Virtual network links.
- Select + Add” and enter:
- Link name: app-vnet-link
- Virtual network: app-vnet
- Enable auto registration: Enabled
- Click create and wait for it to deploy
Create a DNS record set
- DNS records provide information about the DNS zone.
Working on the private.contoso.com DNS zone, in the DNS Management blade, select + Recordsets.

-
There will be 2 A record sets there by default. Select +Add and configure like this:
- Name: backend
- Type: A
- TTL: 1
- IP address: 10.1.1.5
his record set implies there is a virtual machine in app-vnet with a private IP address of 10.1.1.5.

In this exercise, we created a private DNS zone (private.contoso.com) in Azure, linked it to a virtual network (app-vnet) with auto-registration enabled, and added a DNS A record for a backend server (10.1.1.5). This setup allows private name resolution within the virtual network, supporting internal communication without exposing resources to the public internet.


